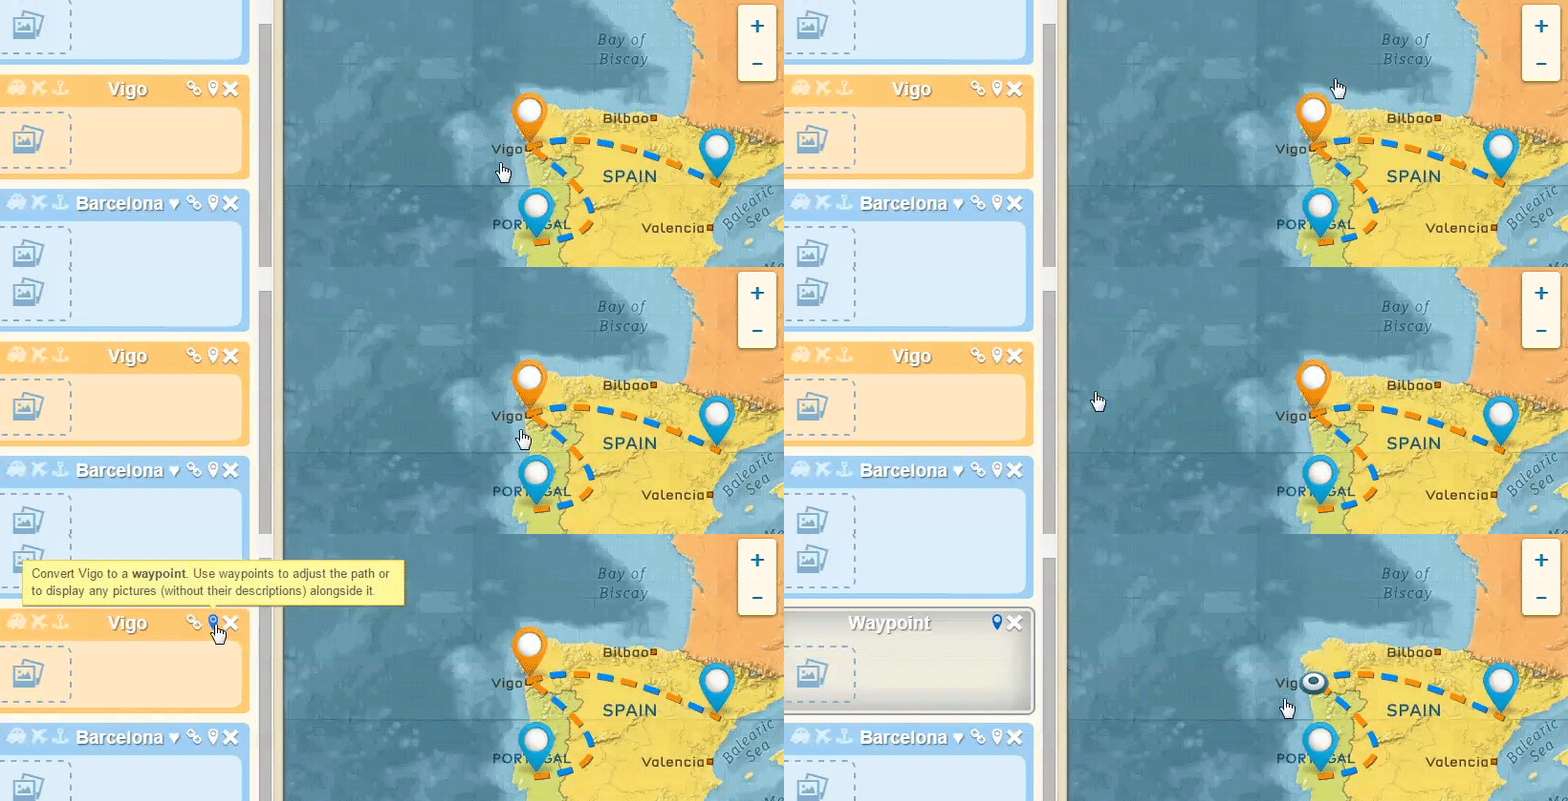
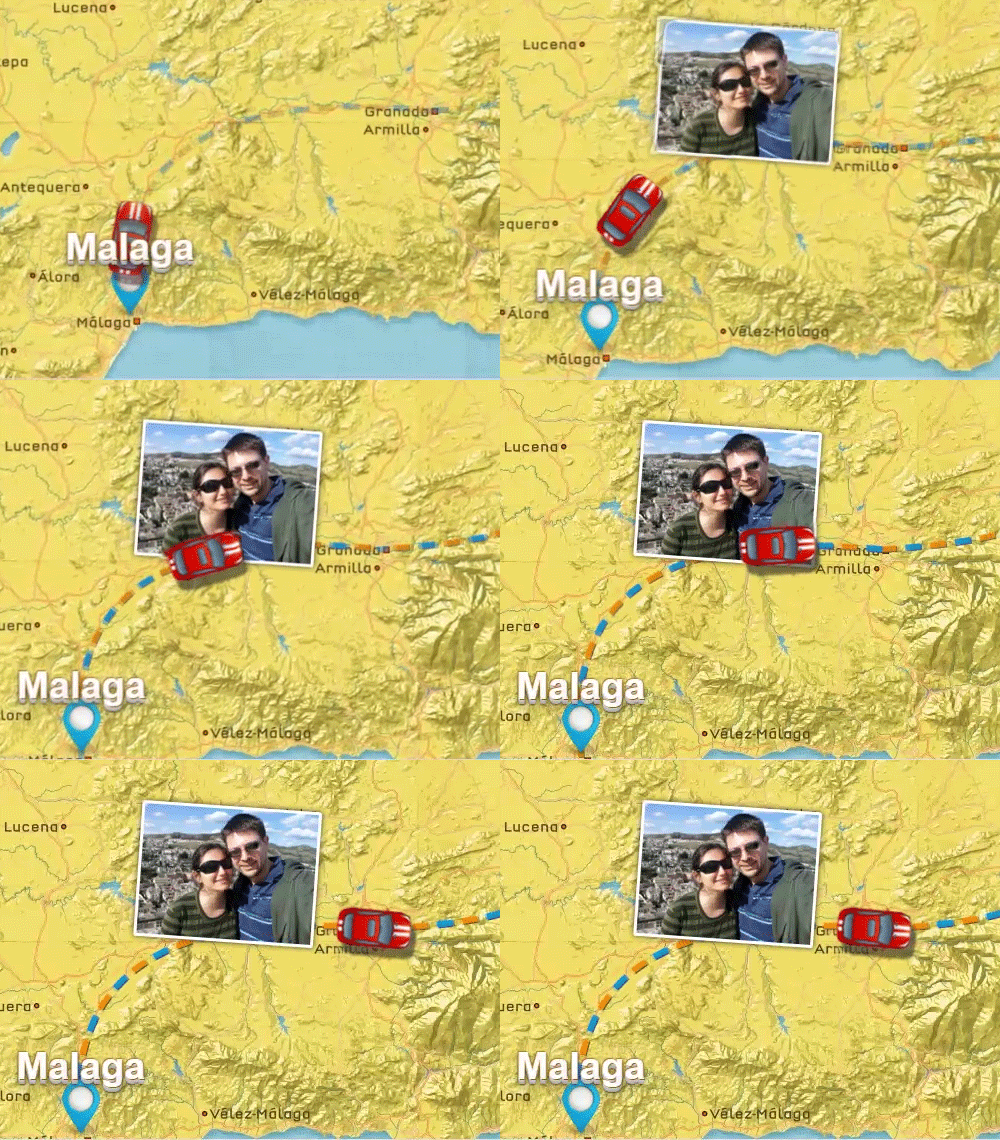
By now you probably know how to add photos to each location, part of your animated travel map. But did you find the way to show photos between locations?
If you didn’t, here’s how.
To show photos in your animated travel map on your way between locations, first you need to add a location where you want the photo to appear and then, to turn that location into a waypoint.

This way, your travel from one location to the next would not be disrupted but the photos you wish to show on your way will be shown as you pass through the waypoint.

That’s it – you can add as many waypoint locations as you want, and add a picture (or many) to each of them, to spice up your animated travel map.
Come on, try it now. Log in to your account, go to edit a project and add a waypoint between two locations. Don’t forget to add photos to it so they show in your animation afterwards.
If you don’t have an account yet, join now and start creating animated travel maps within minutes after completing your registration.
Dear Diana,
This is great ! thanks for sharing with me by the way i’ll be travelling to Solomon Island before the year-end and would like to use this. I will be working in the Island for a year.
Kind Regards,
Eddie Bataller
Image ratio ??
Hello Kavitha, the aspect ratio of all images is 16:9, so they will cover completely the browser viewport only if it also is in 16:9 width/height ratio. Otherwise, they will responsively adjust to the browser window size.
Does this answer your question?
Happy travels and stay safe 🙂
~Diana